In this guide, you will need…
- The fully assembled NAS box.
- Spare monitor to temporary plug into the NAS box.
- A PC/laptop running on Windows presumably with at least one USB port.
- The SanDisk 8GB Cruzer Fit USB Flash Drive
- Internet connection
On your PC/laptop:
- Download the OS at http://xpenology.trantor.be/beta/
- Unpack two files: synoboot-3827-pre-v1.1_v8.img and beta8.pat
- Download Win32 Disk Imager and install it.
- Plug in the USB flash drive.
- Load Win32DiskImager, Select the synoboot-3827-pre-v1.1_v8.img file and the USB flash drive then press Write and wait.

- Once its done, unplug the USB flash drive.
On your NAS box:
- Plug in the spare monitor for setup. You don’t need the monitor after this.
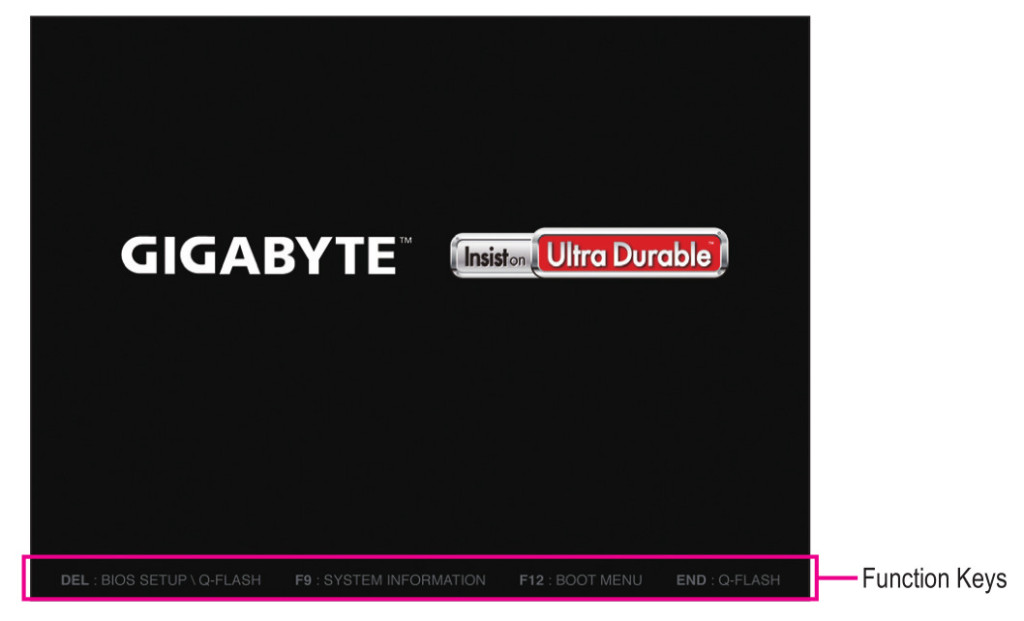
- Plug the USB flash drive and make sure the boot sequence is set to your USB flash drive in your BIOS. Press the Delete key on your keyboard to enter BIOS setup page.
- Boot from the USB drive and wait for to finish loading (approximately 1 minutes).
- Leave it on and now go back to the PC/laptop
Now, back on your PC/laptop:
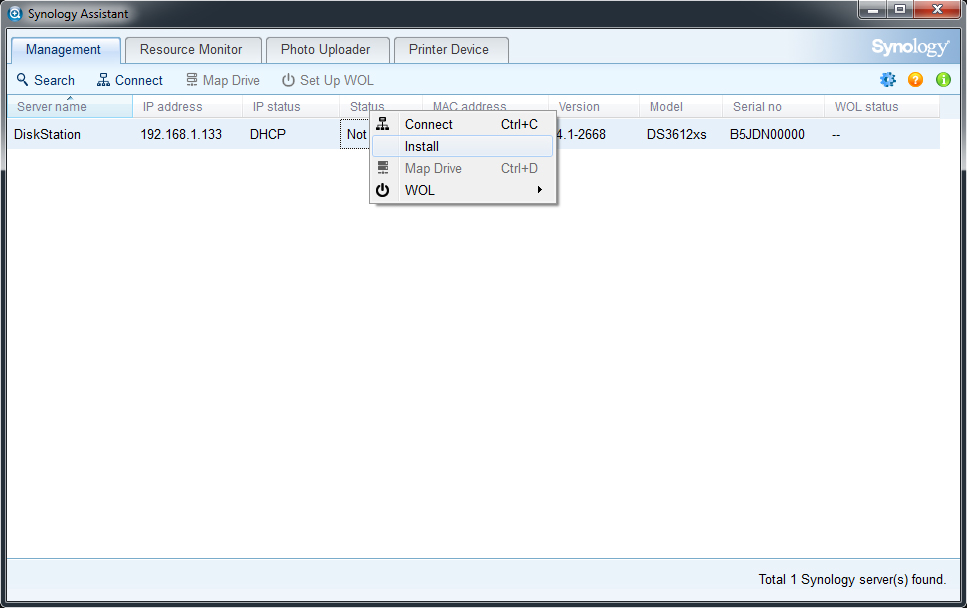
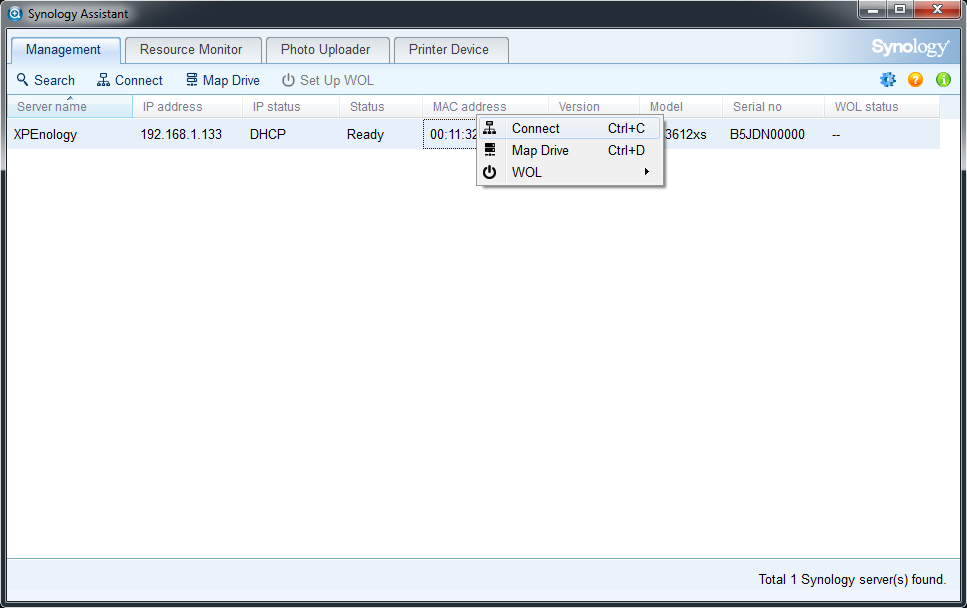
- Download and install Synology Assistant and click search.
- You should see your NAS box in the list.
- Right click on it and select Install.
- In the Setup Wizard, select the beta8.pat extracted earlier.

- Choose a secure password and you can name your server anything. I called mine Jarvis. SHR is recommended.

- Select DHCP. You can change this to static IP later if you want.

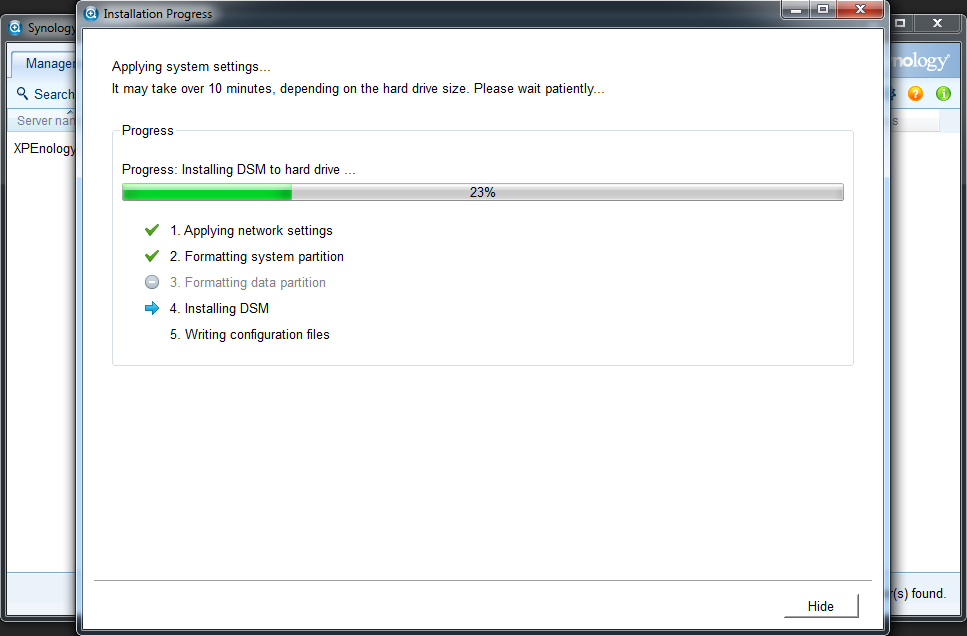
- Click finish and wait for the installation to complete.
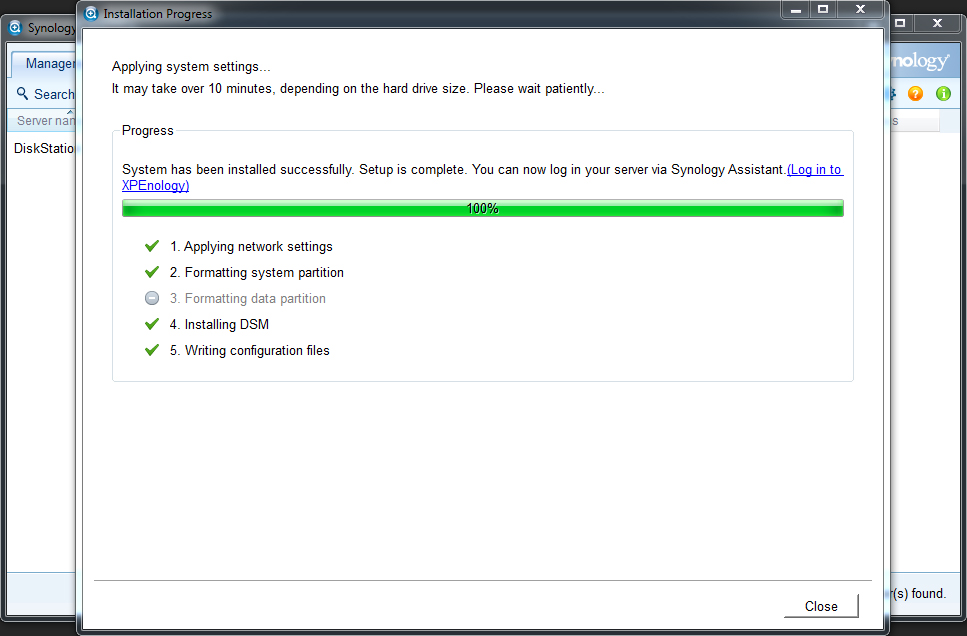
- Now connect to your new NAS.
- Congratulation. You now completed the installtaion process.

Please note that you must NOT unplug the USB flash drive. It is used to boot the system.
Content taken and improved from http://xpenology.com/forum/viewtopic.php?f=15&t=17